Mastering Cladding Wall Panel Installation A Step by Step Guide
In today's construction landscape, the aesthetic and functional appeal of buildings often hinges on the selection and installation of exterior materials. Among these, the Cladding Wall Panel stands out as a versatile and effective solution, offering both style and durability. Mastering the installation of cladding wall panels is not just an art; it's a crucial skill for builders and contractors aiming to elevate their projects. This step-by-step guide will demystify the process, providing you with the best practices and expert insights to ensure a successful installation.
Whether you are a seasoned professional or a DIY enthusiast, understanding the nuances of cladding wall panels can significantly impact the visual impact and longevity of your structures. Join us as we explore the essential techniques and tips to master this vital aspect of modern building design.
Understanding the Importance of Proper Cladding Installation Techniques in Construction
Proper cladding installation techniques are crucial in construction, as they significantly impact a building's aesthetics, structural integrity, and overall performance. Cladding not only serves as a barrier against weather elements but also adds a layer of insulation, energy efficiency, and protection from moisture. When installed correctly, cladding can enhance the longevity of the building materials and prevent problems such as rot, mold, and structural damage. Therefore, understanding and mastering these techniques is essential for ensuring that the cladding fulfills its intended functions effectively.

In addition to safeguarding the structure, proper installation of cladding wall panels contributes to the visual appeal of a building. It allows architects and builders to create unique designs and finishings that reflect the character of the property. Techniques such as ensuring the correct overlap, maintaining consistent gaps for expansion, and selecting appropriate fasteners not only enhance the durability of the cladding but also ensure that the final appearance meets design specifications. Investing time and resources into learning and applying proper installation methods ultimately pays off through reduced maintenance costs and increased property value over time.
Analyzing Industry Standards: Key Guidelines for Wall Panel Installation
 When it comes to wall panel installation, adhering to industry standards is crucial for ensuring not only aesthetic appeal but also structural integrity and long-term performance. Key guidelines set forth by industry experts help contractors and builders navigate the complexities of the installation process. First and foremost, evaluating the substrate is essential; it must be clean, dry, and free of any contaminants to promote proper adhesion. Following this, it’s important to select the right panels that meet local building codes and specifications, as this directly influences the project’s success.
Another significant aspect of wall panel installation is ensuring proper alignment and spacing. Utilizing a level and measuring tape can help maintain uniformity across the installation, preventing costly misalignments that could jeopardize the overall finish. Furthermore, paying attention to environmental factors, such as temperature and humidity, can significantly impact the curing and performance of adhesives and sealants used in the process. By adhering to these key guidelines, installers can achieve a high-quality finish that meets both design expectations and safety standards.
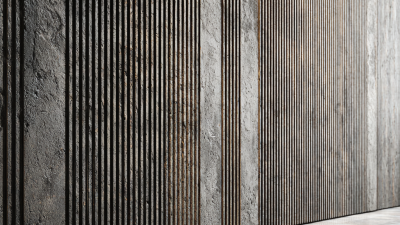
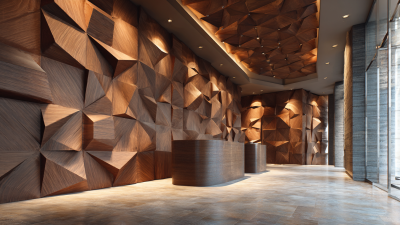
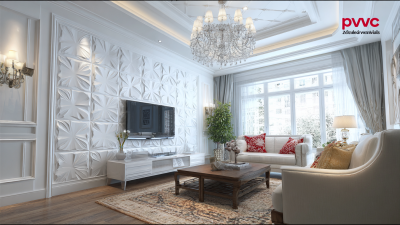
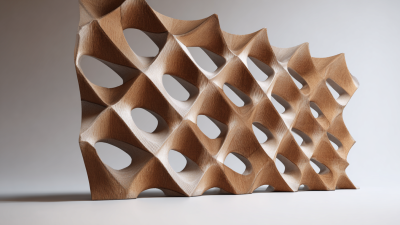
Exploring Materials: Choosing the Right Cladding Panels for Durability and Aesthetics
Choosing the right cladding panels is crucial for achieving both durability and aesthetic appeal in any construction project. When exploring materials, it's important to consider factors such as weather resistance, maintenance requirements, and sustainability. For instance, wood cladding offers a warm, natural look but may require more upkeep compared to metal panels, which can provide a sleek, modern aesthetic and withstand harsh environmental conditions.
Additionally, composite materials have gained popularity due to their ability to mimic the appearance of wood while offering enhanced durability and resistance to rot. When selecting cladding panels, think about the overall style of the building and how the materials will interact with the surrounding environment. Neutral colors can blend seamlessly into landscapes, while bold hues may serve as a statement feature. Balancing these aesthetic choices with practical considerations ensures a result that satisfies both visual desire and functional longevity.
Step-by-Step Process: Essential Tools and Techniques for Efficient Panel Installation
When it comes to mastering cladding wall panel installation, having the right tools and techniques is crucial for achieving a smooth and efficient process. Start by gathering essential tools such as a level, measuring tape, and power drill. These will not only enhance your accuracy but also improve the overall quality of your work. Make sure to check that all materials are on-site before you begin, which minimizes delays and ensures a seamless workflow.
Incorporating specific techniques can significantly enhance your installation efficiency. For instance, leveraging the 5S methodology can help keep your workspace organized and free from unnecessary materials. This lean strategy focuses on sorting, simplifying, sweeping, standardizing, and sustaining, reducing waste and enhancing productivity. Employing a systematic approach will streamline the installation process, allowing you to focus on precision and quality.
Additionally, always take the time to plan your panel layout before starting the installation. This prevents time lost in adjustments later and maintains a professional finish. By being meticulous in your preparation and execution, you'll not only save time but also ensure that your cladding wall panels are installed correctly, promising durability and aesthetic appeal.
Mastering Cladding Wall Panel Installation A Step by Step Guide
| Step |
Description |
Essential Tools |
Techniques |
| 1 |
Planning and Measurement |
Measuring Tape, Level |
Accurate Measurement |
| 2 |
Preparing the Wall Surface |
Scraper, Clean Cloth |
Surface Cleaning |
| 3 |
Marking Panel Positions |
Chalk Line |
Marking Technique |
| 4 |
Cutting the Panels |
Circular Saw, Safety Goggles |
Safe Cutting Practices |
| 5 |
Installing Panels |
Drill, Screws |
Fastening Techniques |
| 6 |
Finishing Touches |
Caulking Gun, Paint |
Sealing and Painting |
Common Mistakes to Avoid: Enhancing Longevity and Performance of Cladding Systems
When it comes to the installation of cladding wall panels, avoiding common mistakes can significantly enhance the longevity and performance of your cladding systems. A report from the Building Research Establishment highlights that improper installation can lead to moisture ingress and thermal inefficiencies, decreasing the lifespan of materials by up to 30%. Therefore, meticulous attention to detail during installation is crucial. Ensuring that panels are aligned correctly and that joints are adequately sealed can prevent water damage and maintain insulating properties.
Another frequent pitfall is neglecting to account for material expansion and contraction. According to research by the National Institute of Building Sciences, failure to accommodate these factors can result in cracking or warping, compromising the structure's integrity over time. It's vital to follow manufacturer guidelines for spacing and fastening, as these specifications are developed to enhance performance and resilience. Regular maintenance and inspections can also help detect early signs of failure, allowing for timely interventions that preserve both aesthetics and functionality.